Tuesday, March 12, 2013

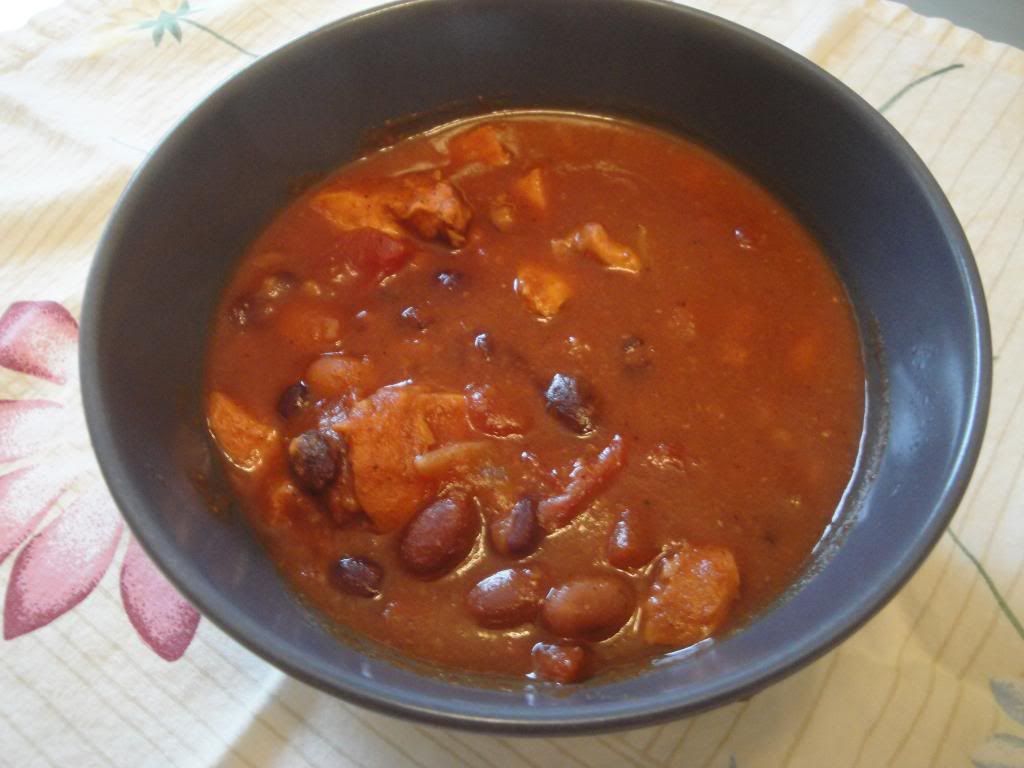
Rainy Day 3-Bean Chicken Slow Cooker Chili

We woke up to a rainy day. Cool and rainy. Perfect chili weather. We have very few chili weather days left, so I thought we would take advantage.

This turned out WAY better then I thought it would. I figure it would be good, but it was fantastic. I look forward to leftovers for lunch tomorrow...

Normally, when you see non-ground chicken in chili, it's a white or green chili. I thought I would try something different and try it in a tomato based chili.

And another fun thing I tried was adding refried beans along with the other beans to the sauce. This thickened it...and made it more filling...so this pot of chili will last us for days...

I normally serve chili over cornbread, but with the still broken oven...that was out. Or I do corn chips on top. Out of those. But, you can try them at get back to me. We topped ours with a little cheese and sour cream...yum.

I do recommend a larger crock for this...I used my 5 quart and it JUST fit...


Anyway..here ya go...


Rainy Day 3-Bean Chicken Chili in the Slow Cooker

1 pound boneless, skinless chicken...I used breasts but thighs would work well too
1 tablespoon olive or vegetable oil
1 medium sized onion, chopped
1 pack 1.25 ounce chili mix
29 ounces total canned tomato sauce
1 can diced tomatoes with green peppers, onions and celery
1 16-oz can refried beans
1 16-oz can black beans, undrained
1 16-oz can pinto beans, undrained
1 16-oz can chili beans sauce, undrained

Dice up chicken and place into bottom of crock.

Meanwhile, saute onion in oil until just softened. Add to crock. 

Add rest of ingredients, stir to combine. 

Cook on high for 1 to 2 hours (until it's really simmering) an reduce to low for 4 to 5 more. Until chicken is cooked. 

Dig in!!


Sunday, March 10, 2013

Sunday, Lazy Sunday....

I find it extremely hard to get motivated and do ANYTHING on Sunday...I want to sleep in and watch Netflix all day. I don't want to cook. I don't want to clean.

The time changed last night, that doesn't help...

I hope everyone had a great weekend! We visited the produce stand yesterday, picked up some strawberries, blueberries, tomatoes, avocados and a yellow honeydew..a new one to me.

I attempted a new crock pot recipe last night, it took around 10 hours to cook so we ended up eating frozen burritos and chips and salsa for dinner. We'll see how it reheats tonight...


To continue with the randomness of this post...I love this picture:


When I was a 4 year old...I had a crush on Michael J Fox (No, I did not turn out to be a boy crazy teen). I thought he was so cute. This picture reminds me of my first 'love'. 


Dreamy, I know. I wonder if Kevin would approve of this blown up to poster size and taped to our bedroom wall...?

Wednesday, March 6, 2013

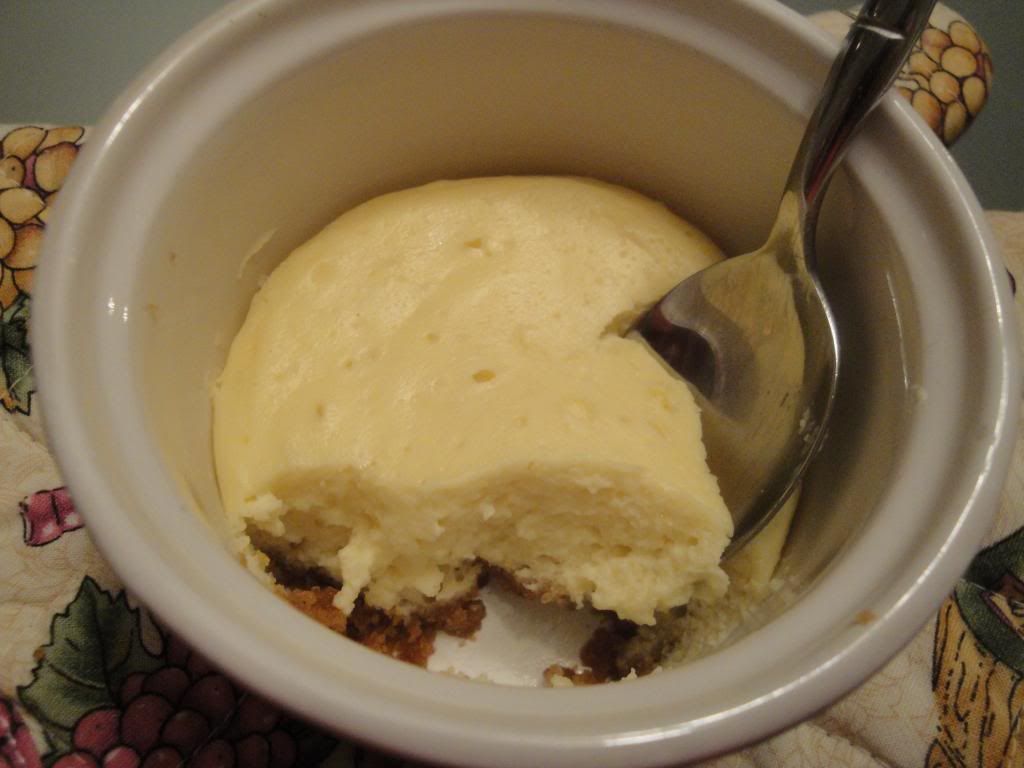
Slow Cooker Cheesecake

Bad things were discovered last night....bad, bad things.

These things being:
How EASY and stress free it is to make cheesecake in the crock pot/slow cooker
How DELICIOUS the cheesecake is

I was busy pinning some new recipes last week and I stumbled across THIS post at A Year Of Slow Cooking. I had to try it.

I bought all of the ingredients, found ramekins to fit the 2 crock pots...and BAM...last night, we ate warm cheesecake because I couldn't wait for it to cool. We are in trouble...pounds will be gained.


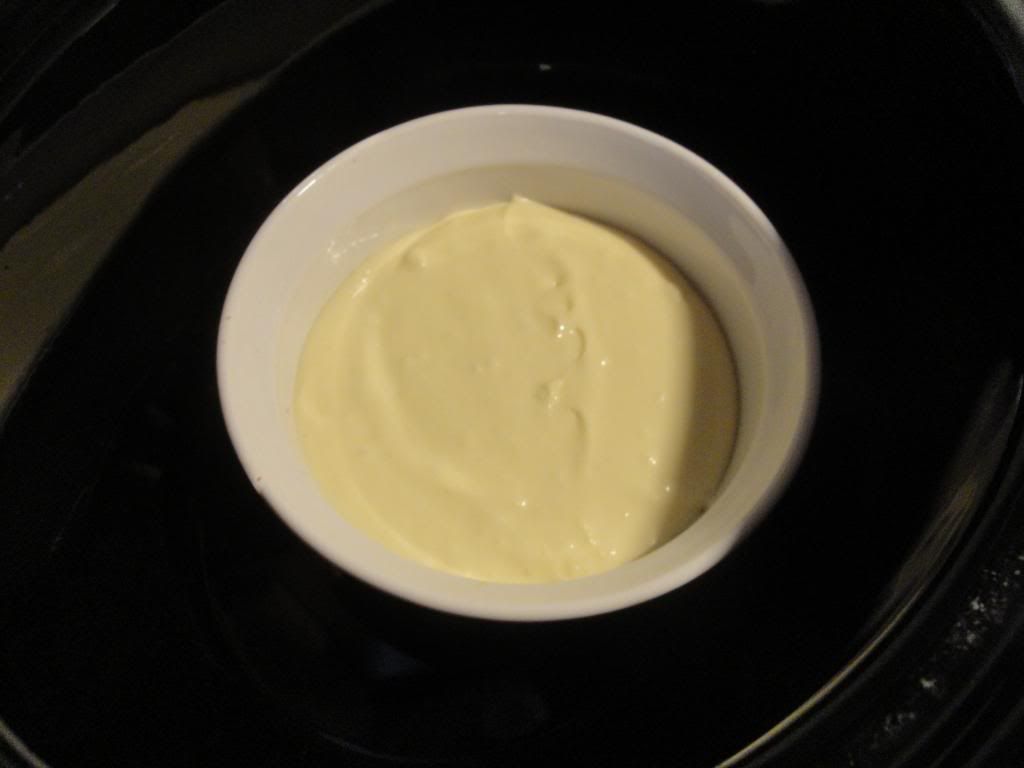
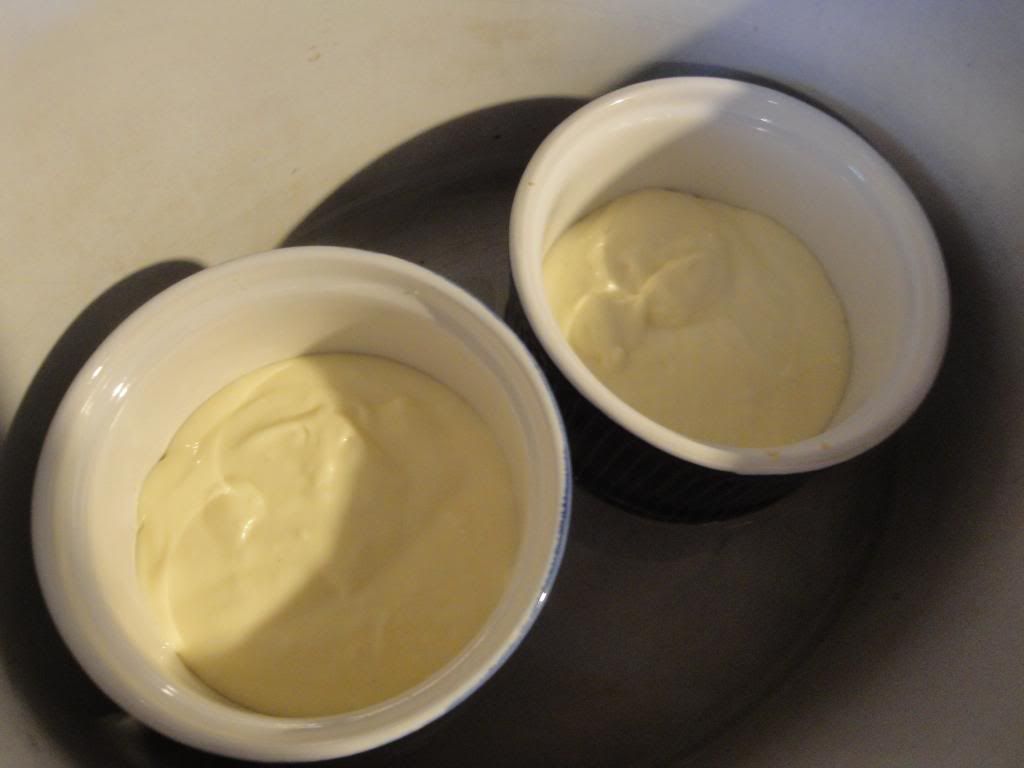
Here are a few pictures to show you how I had to use several small ramekins for our cheesecakes. And I had to do it in batches...I still had 2 ramekins that wouldn't fit it so they are currently coming to room temp before I put them in for their bake. Stephanie used one big casserole dish, but I am assuming she also used a 7 quart slow cooker, I don't have one that large.

If you use the small ones, it took mine about 1 1/2 hours to almost set and I just turned off the cooker at that point and let them sit in the warm water to finish up.


So go over to A Year of Slow Cooking for the RECIPE!

And I do suggest making it in individual ramekins...in hopes it will help you NOT to eat the whole casserole dish...I wanted to eat another pot for breakfast.


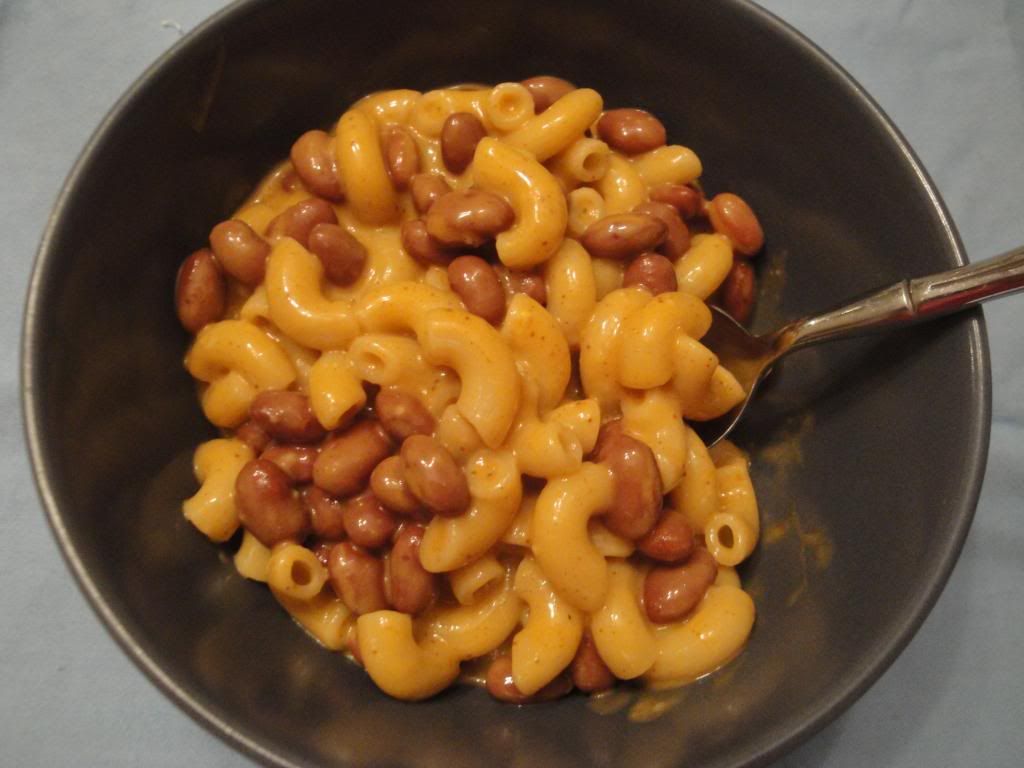
Easy-Peasey Meal #2 - Chili Mac (Vegetarian)

Ah...Macaroni and Cheese, the ultimate comfort food...

Even if it's the box kind, it's still a comfort food, right?

A couple of years ago, a friend introduced me to this 'recipe' I am going to post below. Very simple. Boxed Mac N Cheese with a can of chili beans in sauce. YUM. Filling. Cheap! I make this for Kevin's lunch, he can get 2 big lunches out of it. You can also add some diced up tomatoes if you want, make it a 'complete' meal...


Easy-Peasey Meal #2 - Chili Mac

1 box/bag Macaroni and Cheese kit of choice ( I think the 4 cheese Homestyle is the best)
A good shake of garlic salt or powder
1 can of chili beans in sauce

Cook Macaroni and cheese according to directions on package. If using the Homestyle kind, do the good shake of garlic during the butter melting step. If using something else, be creative, you decide. :)

Mix in beans, heat until beans are warm!


Dig in!

Tuesday, March 5, 2013

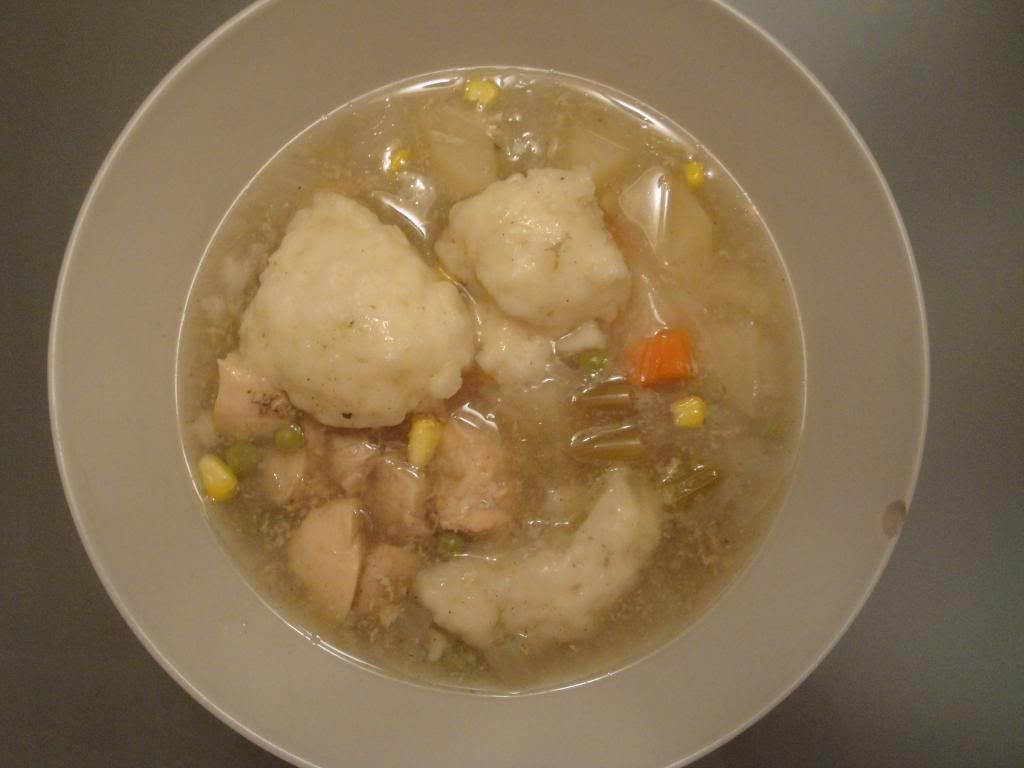
Old Fashioned Chicken Stew With Dumplings

Finally warming up...a bit. It's got me in an un-motivated funk. Come on warm weather!

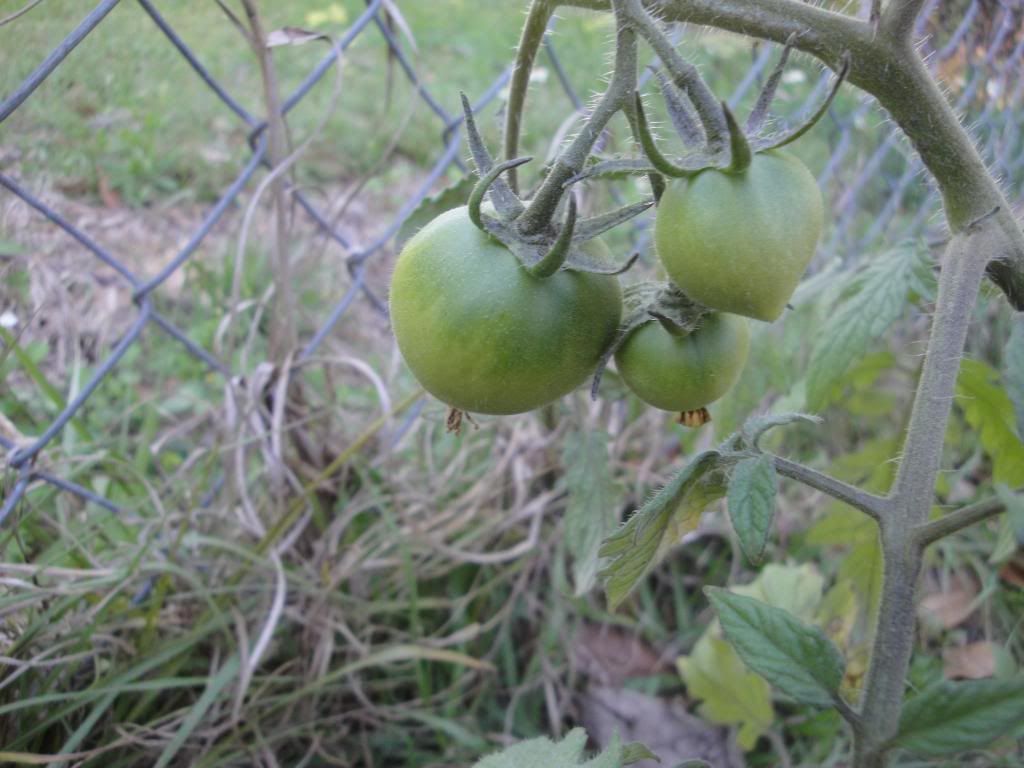
Coop and I did spend some time outside yesterday, checked on our little tomato plant that I was sure was dead. It's been pretty neglected for 2 weeks now. BUT...we were surprised, 3 little tomatoes are growing!!


I am always behind on the starting seedlings timeline...I was supposed to start veggies last month, but I started sunflowers and morning glorys...

SO we will see how they do when I plant seeds this weekend. Florida is a funny climate, you never know. 

Anyway...on to today's recipe. Last night we had a yummy crock pot/slow cooker...whatever you call it in your house...meal. It was adapted from a Taste of Home magazine submission. 


Old Fashioned Chicken Stew with Dumplings (Who doesn't like a dumpling?)

1 pound to 1 1/2 pound cut up raw chicken (I used tenderloins)
1 medium sweet onion, chopped
1 large potato, peeled and diced into 1/2 inch hunks
2 large carrots, sliced
2 celery ribs, sliced
1 teaspoon salt (I actually ended up using more because I used low sodium chicken broth)
1/2 teaspoon poultry seasoning
Pinch of ground thyme
1/4 teaspoon black pepper
32 ounces chicken broth
1/3 cup cold water
3 tablespoons cornstarch
1/2 cup frozen corn kernels 
1/2 cup frozen peas
1 cup bisquick
1/3 cup milk

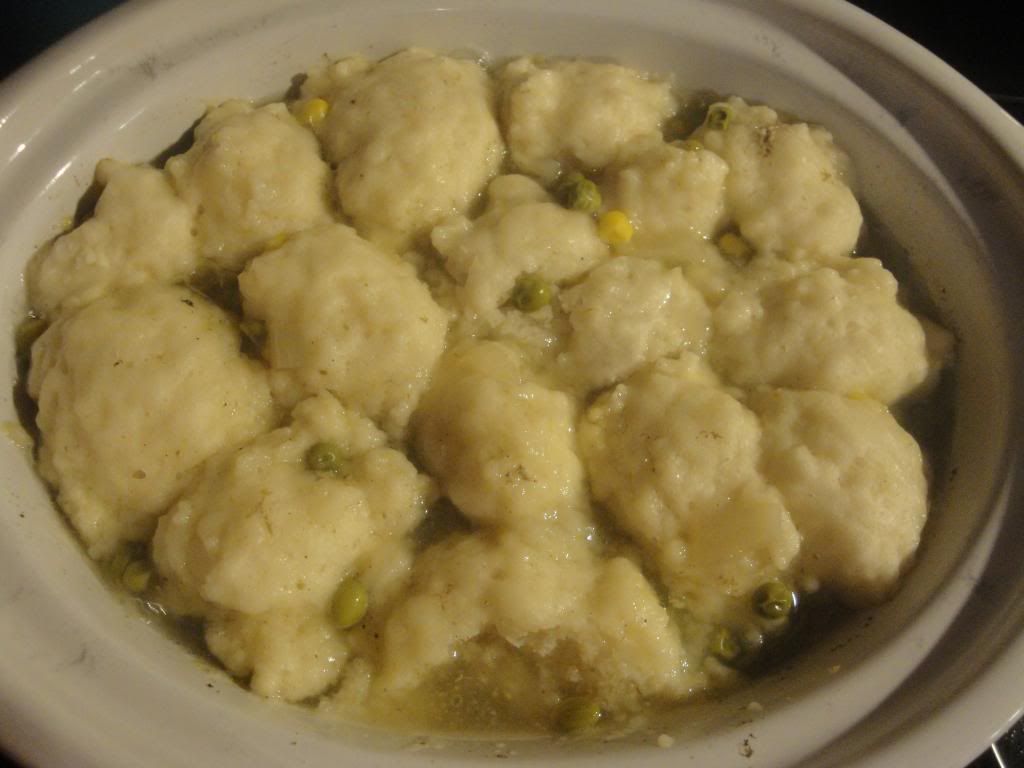
Put chicken, onion, potato, carrots, celery, salt, poultry seasoning, thyme, pepper and chicken broth in crock pot. Cook on low 5 to 7 hours, until veggies are tender and chicken is no longer raw. Add peas and corn to crock pot. Mix cold water and corn starch and add to crock pot. Stir. Let it simmer 20 to 30 minutes to thicken slightly. Mix bisquick and milk to form a soft dough. Drop by tablespoon full into broth. Simmer 30 minutes more, until toothpick (or steak knife in my case) inserted into dumpling comes out clean. 

Dig in!


Sunday, March 3, 2013

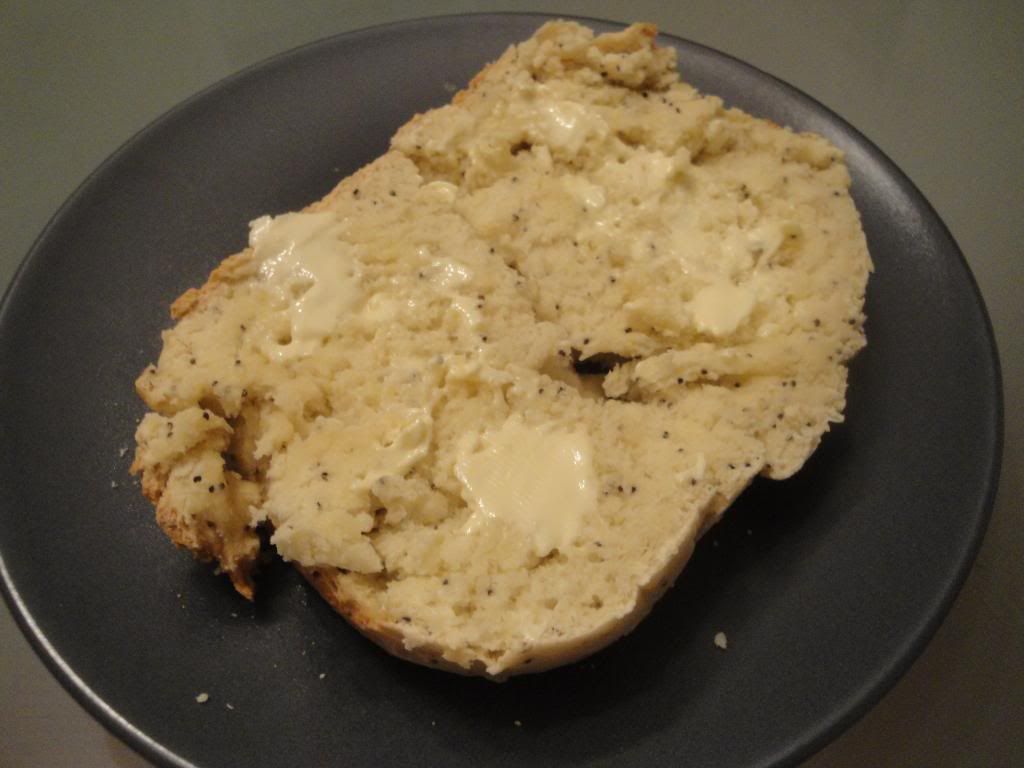
Lemon Poppy Seed Muffin Mix Bread For The Bread Machine

It's STILL COLD...I know, not as cold as you Northern States are experiencing...but I can't get warm!

Tonight, I tried a couple new recipes, one was a flop (Fiesta Turkey Soup) and the other was a success!

I was given a bread machine a couple years ago by my dear friend, Michele. After a few flops ( I think I was using old yeast), I gave up for a while but broke it back out last fall and had success! I've made English Muffin bread, cinnamon bread, and a few different white sandwich breads.

I came across this recipe a few weeks ago in a copy of Bread Machines for Dummies. I am not a dummie...but I love this series of books...

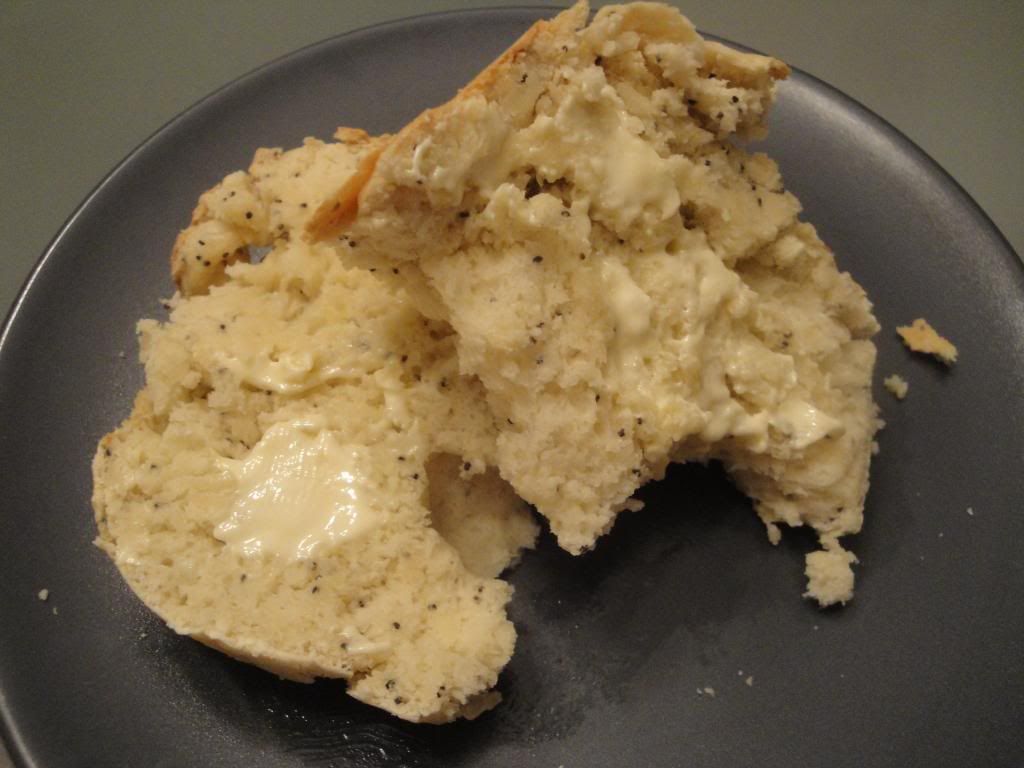
You can use any muffin mix in this recipe, I plan trying blueberry next. This bed was sooo good. Would be excellent for a quick breakfast, it pretty much became our dinner after the flop soup. The bread is a perfect cross of white bread and a muffin. Holds together like a bread, but has the texture of a muffin.


Lemon Poppy Seed Muffin Mix Bread

(For a 1 1/2 pound loaf)

1 cup + 2 tablespoons water
1 package (6 to 8 ounces) muffin mix
1 tablespoon vital wheat gluten
2 cups bread flour
1 tablespoon bread machine yeast/fast acting yeast

Place all ingredients in order listed into bread machine. 

Select fast cycle (my machine doesn't have fast cycle, so I selected the quick bread cycle and just checked it 30 minutes before the time was up...it was done. Just keep an eye on your bread!)

Let it cool on a cooking rack to prevent condensation from making bread soggy!

DIG IN!


Saturday, March 2, 2013

Super Awesome Knock-Your-Socks-Off Zucchini Casserole

Happy Saturday Night!

It's cold in Florida...currently 46 degrees. But for some reason , I still want some chocolate ice cream. Last Saturday night it was warm and we were sitting at picnic tables enjoying waffle cones. Craziness.

Anyway...this recipe has been hanging out in the archives of my computer/note card stash since Thanksgiving. I should have shared it much sooner, it's MAGIC I tell ya, but lack of a good picture of it has kept me from doing so. So please, just trust me when I tell you it's amazing.

Here's a picture of it sitting on a plate....


And here's a picture of it sitting on my parent's stove with other side dish goodies...it's on the left back corner of the stove...


It's a zucchini casserole, but not the standard mixed with cream-of-something soup and bread crumb kind...this one takes A LOT of prep and it's so worth it. Take it your next family function or pot luck and people will be BEGGING you for the recipe.

Remember to allow time for prep...like at least an hour, especially if you doubled it like I did. I am lucky enough to have a food processor with a grater plate, so that saved a ton of time for me. You grate almost every ingredient in the casserole.

Anyway...the first thing you need to do is coarsely grate 1 1/2 pounds zucchini. Place in a colander and mix with some salt. I placed a plate on top of the colander, topped with some cans to squeeze out the moisture. Every once in a while I would press down on the top of them to help remove more.


Squeeze it between your hands too to help get our more moisture. Don't stress if you see a lot of water when you start mixing everything together. I did too, tried to scoop some out, but ended up just leaving it and hoping for the best. It came out great. 

While this is happening, saute your onions and mushrooms. (Notice my candle, I was trying the burn a candle to help keep onions from making your cry trick)


NOW...it's time to grate the potatoes, mix em with the eggs and seasoning. I don't have a picture of that...what I do have a picture of is some cheese...Gruyere cheese to be exact. You'll have to grate this stuff too. 


Now you'll mix together everything, minus some of the cheese to put on the top. Spread it out in a casserole dish, sprinkle with cheese and bake! Remember, mine was doubled, so yours won't need a pan this large. 

I also didn't get a picture of it out of the oven because we were LATE for lunch at that point...


So again, it's SO GOOD...make it, love it, brag about it...


Super Awesome Knock-Your-Socks-Off Zucchini Casserole


1 1/2 pounds zucchini
2 teaspoons coarse salt
2 medium onions
2 ounces baby bell mushrooms, wiped clean and sliced
2 tablespoons olive oil
1/2 teaspoon coarse salt
12 ounces baking potatoes
3 large eggs, well beaten
1/8 teaspoon black pepper
Pinch of ground red pepper
1/2 cup grated Gruyere cheese
1/4 cup grated Parmesan cheese
1 teaspoon olive oil

Preheat oven to 350. Spray a 10x8 baking dish. 

Coarsely grate zucchini, remove to colander, stir with salt and drain for 30 minutes. Press between hands or use plate to crate a press in the colander, draining as much liquid as possible. 

Meanwhile, thinly slice onions an saute in 2 tablespoons of olive oil along with mushrooms and 1/2 teaspoon of salt until onions are soft, but not browned, about 20 minutes. 

Meanwhile, peel and grate potatoes. Put potatoes in bowl and immediately stir in eggs, black and red pepper. Stir in drained zucchini, onion mixture half of the cheese and scrap into casserole dish. Sprinkle with remaining cheese and drizzle with olive oil. 

Cover with foil and bake until set, about 1 hour. Remove foil to brown the top. Let stand for at least 20 minutes before serving. 

Dig in, because there won't be leftovers....